Placing tiling on the floor: Difference between revisions
No edit summary |
No edit summary |
||
| Line 7: | Line 7: | ||
<p class="cadrevideo"> | <p class="cadrevideo"> | ||
<youtube width="500" height="300"> | <youtube width="500" height="300"> | ||
https://www.youtube.com/watch?v= | https://www.youtube.com/watch?v=mbBIjAQ-0PA&list=PL7MrU2icgiqFa5_zPfdNVclL0x8F69hgP&index=9 | ||
</youtube> | </youtube> | ||
<br>Voir le tutoriel vidéo | <br>Voir le tutoriel vidéo | ||
| Line 24: | Line 24: | ||
<div align="center"> | <div align="center"> | ||
<p class="cadreimg"> | <p class="cadreimg"> | ||
[[Image: | [[Image:Posecarrelage_ENG.png|link=]] | ||
</p></div> | </p></div> | ||
Revision as of 09:19, 25 April 2023
|
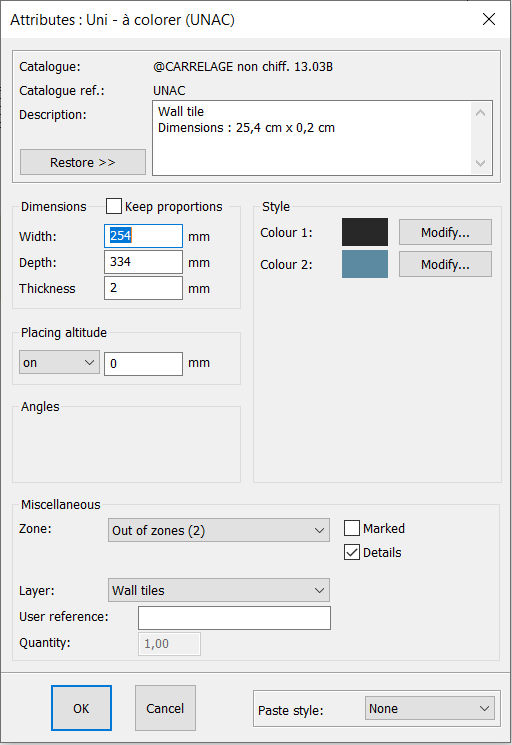
To place tiling on the floor and be in control of the height of the tiles, the colour of the joints or the positioning of the tiling, we recommend the following method. Firstly, draw the shape of the room that you want to tile: To do so, select a wall and right click on it, then press Shape. If you don't want to tile the whole room, draw the shape manually. Next, choose the tiling that you want via the @non priced tiling catalogue. If the tiles are "To colour", then you can choose the colour that you like later on. You can also mody teh dimensions of the tiles before placing them. Then, slide the tiles onto the drawn shape. Careful, wherever you drop the tiles will be the starting point for the tile placement, meaning that the other tiles will be placed around that spot. For a diagonal placement, rotate the first tile with a right mouse click before dropping. To change the joints' and tiles' colour, simply select a tile, right click on it and click on Attributes...
In the "style" section, the first colour corresponds to the joint and the second to the tile. Before confirming, don't forget to paste the style to "All" so that your choices for that tiles apply to all the other tiles in the scene.
|
|

