Placing a background panorama

From WikInsituEn
Revision as of 14:06, 6 August 2024 by Jérémie (talk | contribs)
(diff) ← Older revision | Latest revision (diff) | Newer revision → (diff)
Jump to navigation Jump to search

Placing a background panorama

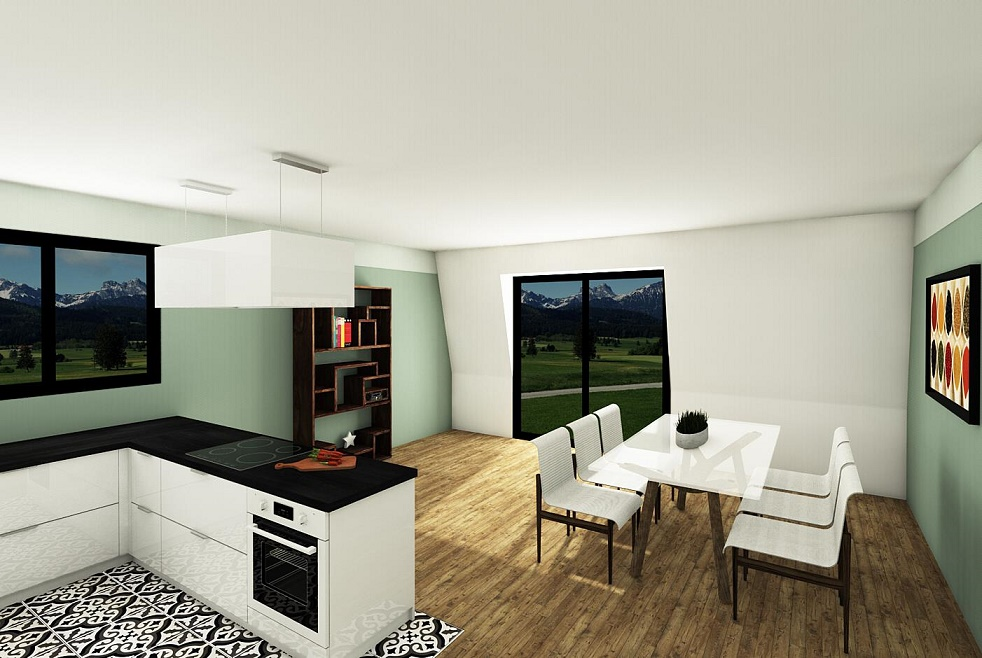
This new feature, available with version 9 of InSitu, is accessible through the Scene drop down menu. It allows you to import a panorama that is displayed 360° behind the openings of the scene in 3D view. All you'll have left to do is managing the adding of images behind each window.

Panorama FR.png


1.To use the feature, you must save your image (in the jpeg format) beforehand, on a hard drive folder, on C :INSITU/TEXTURES/BACKGROUND


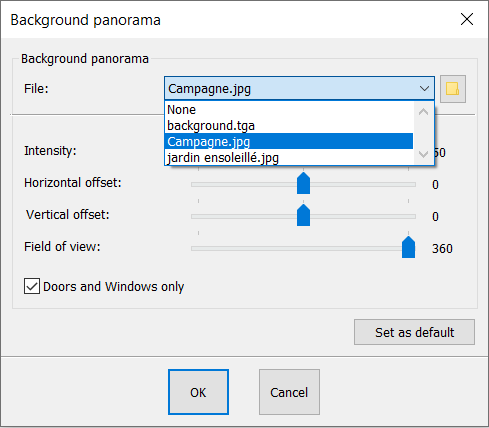
2.Then, click on the Scenes menu and then on Background panorama

Panorama2 ENG.png


3.A new window will appear, click on the icon that looks ike a yellow folder, then select the image you want to insert in your background panorama.


Panorama3 ENG.png


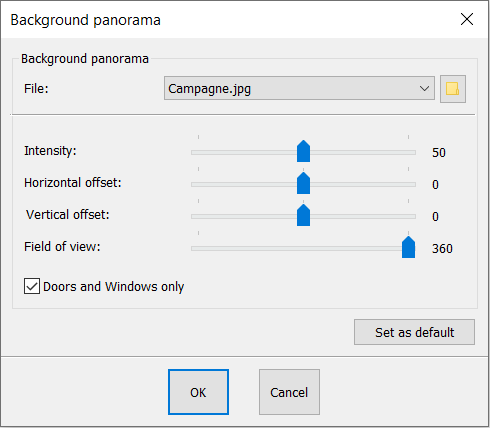
Now let's go through the different settings you have at your disposal (these must be set up in 3D view).

Panorama4 ENG.png

1 - This slider allows you to manage the intensity of the image. This is very useful for when the saved image is too bright or not bright enough.


2 - This slider allows you to manage the horizontal positioning of the image depending on the openings of the room.


3 - This slider allows you to manage the vertical positioning of the image depending on the openings of the room.


4 - This slider allows you to manage the distance from the image.


Decoration.png
Decorating

Back top of page  Next step