Realistic drawing perspective: Difference between revisions
No edit summary |
No edit summary |
||
| Line 37: | Line 37: | ||
<div align="center"> | <div align="center"> | ||
<p class="cadreimg | <p class="cadreimg"> | ||
[[ | [[Fichier:Vuerendudessin3_FR.png|link=]] | ||
</p> | </p></div> | ||
</div> | |||
| Line 53: | Line 51: | ||
<div align="center"> | <div align="center"> | ||
<p class="cadreimg | <p class="cadreimg"> | ||
[[ | [[Fichier:Vuerendudessin4_FR.png|link=]] | ||
</p> | </p></div> | ||
</div> | |||
Revision as of 14:43, 3 July 2023
|
InSitu permet de produire des images qui ressemblent à des dessins faits à la main.
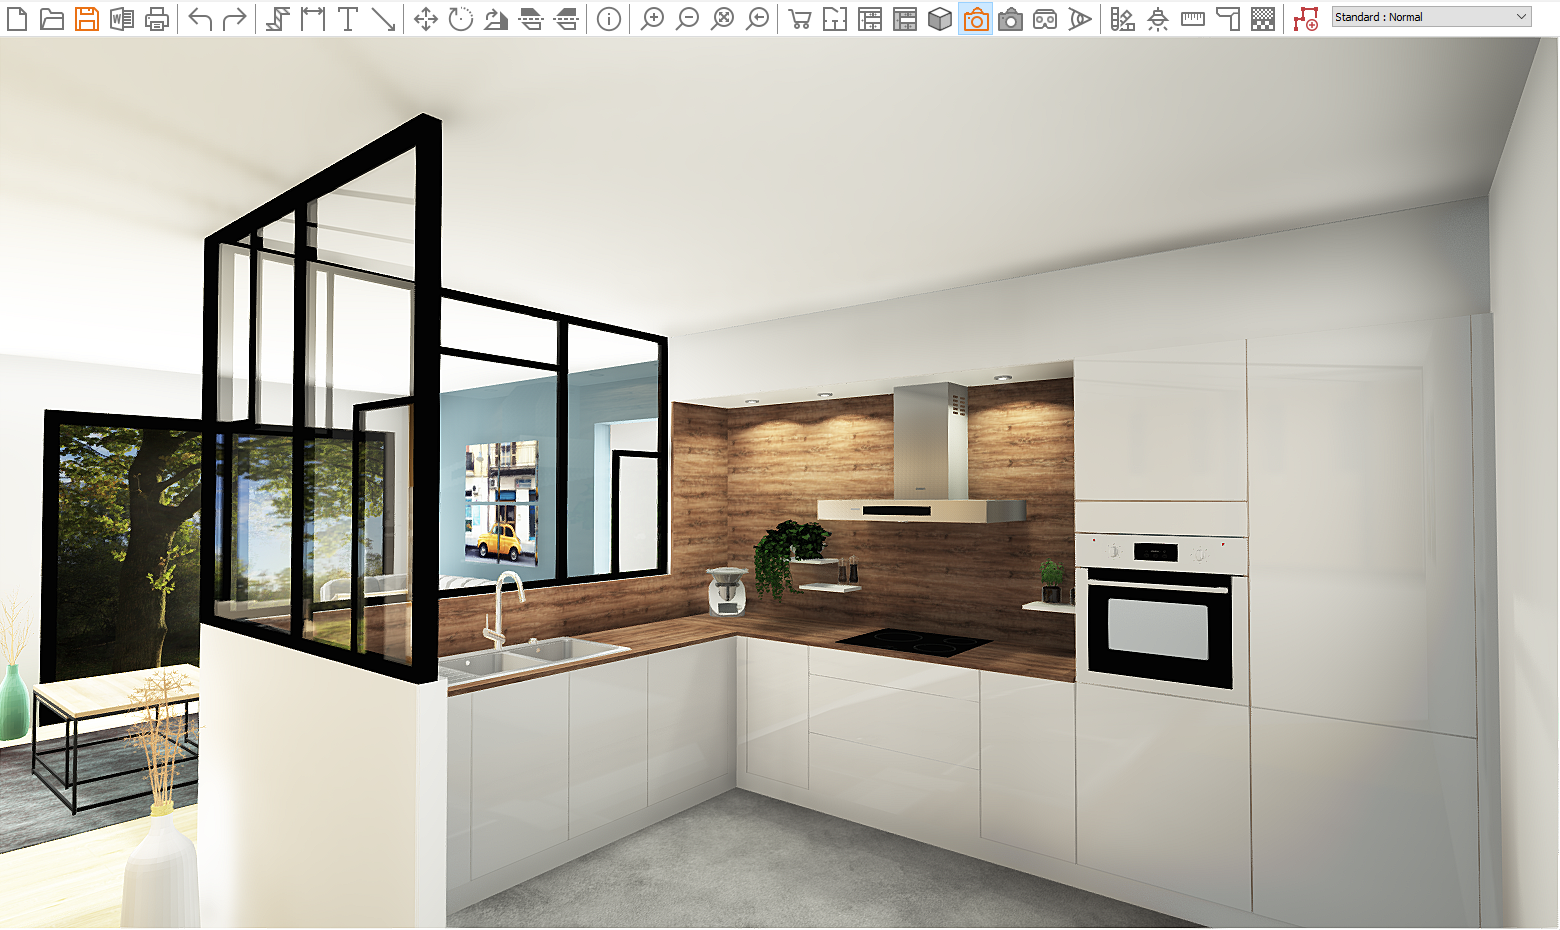
Go to Scene | Photorealism and then to Realtime photorealism and tick the Edges box. You can use the contraste slider to highlight lines to the extent that you wish and you can play with the jag slider to give your lines a more 'sketched' look. If you would like a black and white rendering, tick the Monochrome box. Once you are happy with how you've set everything up, launch the Realtime photorealistic perspective.
Displaying the rendering of the hand-drawn view in the final photorealistic perspective ' First, go to Scene | Photorealism, then Final photorealism. Once again, tick the Edges and Monochrome boxes depending on how you would like the final rendering to look. Finally, launch the Final photorealistic perspective
|
|


