Elevation views: Difference between revisions
No edit summary |
No edit summary |
||
| (5 intermediate revisions by 2 users not shown) | |||
| Line 3: | Line 3: | ||
<td width="80%" valign="top"> | <td width="80%" valign="top"> | ||
<!-- contenu --> | <!-- contenu --> | ||
<h1 class="title_page">Elevation views</h1> | |||
To enter an elevation perspective, no matter which one, you must <B>select the wall</b> affected by the elevation. | To enter an elevation perspective, no matter which one, you must <B>select the wall</b> affected by the elevation. | ||
| Line 10: | Line 12: | ||
elevation perspective. | elevation perspective. | ||
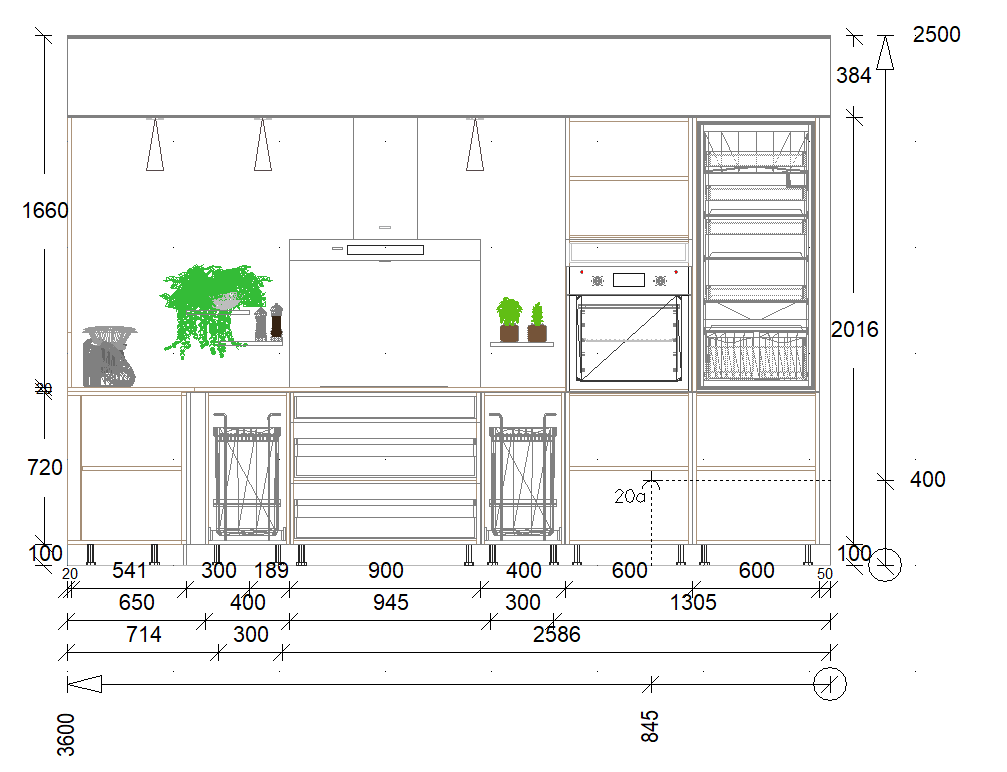
''<big>The wireframe Elevation view</big>''' | '''<big>The wireframe Elevation view</big>''' | ||
| Line 17: | Line 19: | ||
[[ | [[Image:Vueelevation_FR.png|link=]] | ||
</p></div> | </p></div> | ||
| Line 24: | Line 26: | ||
Therefore, you can see the inside of the pieces of furniture and their various fittings. | Therefore, you can see the inside of the pieces of furniture and their various fittings. | ||
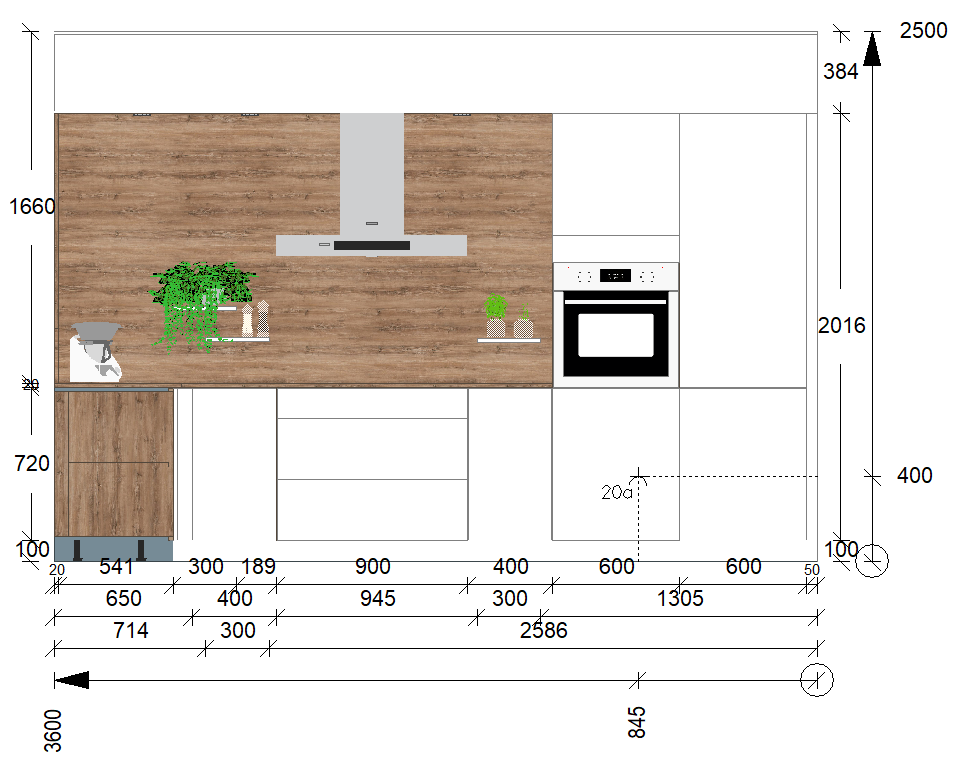
'''<big>Realistic Elevation perspective</big>''' | |||
''<big>Realistic Elevation perspective</big>''' | |||
<div align="center"> | <div align="center"> | ||
<p class="cadreimg"> | <p class="cadreimg"> | ||
[[ | [[Image:Vueelevation2_FR.png|link=]] | ||
</p></div> | </p></div> | ||
| Line 36: | Line 37: | ||
[[ | [[Image:LogoInfo.png|link=]] When you do not have a wall to use for an elevation, you must place a <b>[[Placing text, arrows, symbols|elevation symbol]]</b>. | ||
<span class="btnretour">[[#top| | <span class="btnretour">[[#top|Back top of page]]</span> <span class="btnhome">[[Perspective views|Next step]]</span> | ||
<!-- fin contenu --> | <!-- fin contenu --> | ||
Latest revision as of 09:11, 21 August 2024
Elevation views
The wireframe Elevation view
Realistic Elevation perspective
|
|


