Web-Based Furniture (internet connection required): Difference between revisions
Jump to navigation
Jump to search
No edit summary |
No edit summary |
||
| Line 61: | Line 61: | ||
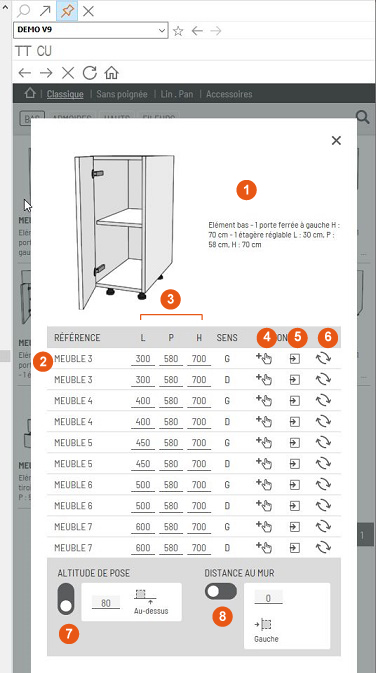
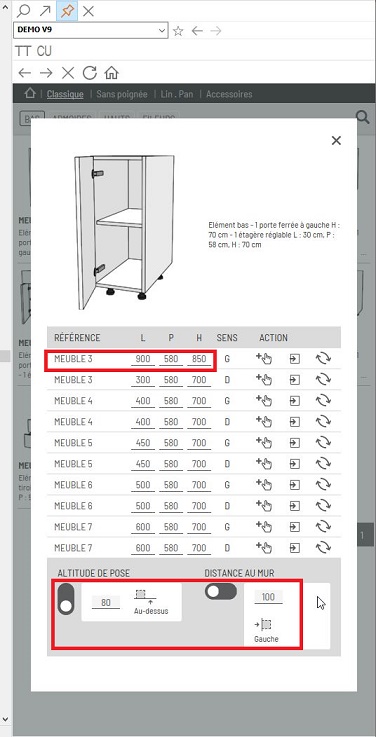
5. Replace the default dimensions in the "W", "D" and "H" text boxes with the width, depth and height of the piece of furniture in millimetres. | '''5'''. Replace the default dimensions in the "W", "D" and "H" text boxes with the width, depth and height of the piece of furniture in millimetres. | ||
For example, let's enter 900 for "W" and 850 for "H" for the reference ''' FURNITURE 3 ''' (Fig.d) | For example, let's enter 900 for "W" and 850 for "H" for the reference ''' FURNITURE 3 ''' (Fig.d) | ||
6.In '''PLACEMENT HEIGHT''', we will enter a value of 80, representing the distance between the placement height and your floor. If you want your piece of furniture to be | '''6'''.In '''PLACEMENT HEIGHT''', we will enter a value of 80, representing the distance between the placement height and your floor. If you want your piece of furniture to be | ||
precisely placed, in the ''' DISTANCE TO WALL ''' box, enter the distance separating the piece of furniture from the end of the wall to its left or | precisely placed, in the ''' DISTANCE TO WALL ''' box, enter the distance separating the piece of furniture from the end of the wall to its left or | ||
to its right. To do so, move the slider to the left or to the right. You can tell which side is the left or the right when looking at the piece of furniture from inside | to its right. To do so, move the slider to the left or to the right. You can tell which side is the left or the right when looking at the piece of furniture from inside | ||
| Line 77: | Line 77: | ||
</div> | </div> | ||
7. In the chosen article's previsualisation graphic zone, click with your left mouse button and keep it pressed down. The mouse cursor will transform into the silhouette of a hand. | '''7'''. In the chosen article's previsualisation graphic zone, click with your left mouse button and keep it pressed down. The mouse cursor will transform into the silhouette of a hand. | ||
8. Slide the mouse cursor towards the work area to where the article should be. Note that the silhouette of the article slides along with the mouse cursor. A right click (with the left mouse button still pressed down) will swivel the article silhouette 45 degrees to the right. | '''8'''. Slide the mouse cursor towards the work area to where the article should be. Note that the silhouette of the article slides along with the mouse cursor. A right click (with the left mouse button still pressed down) will swivel the article silhouette 45 degrees to the right. | ||
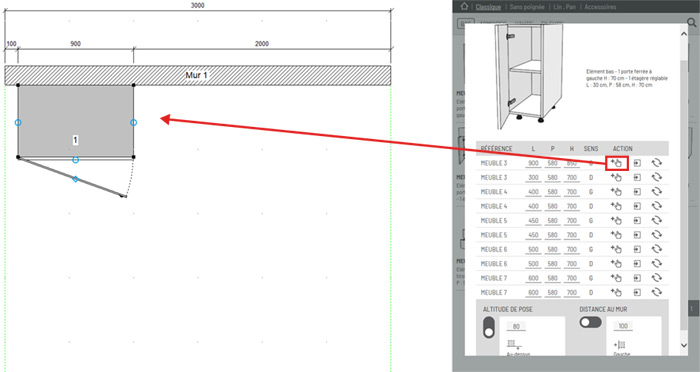
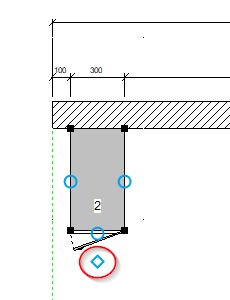
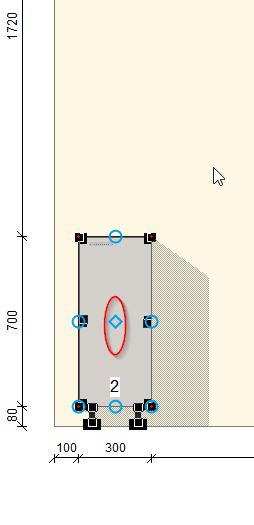
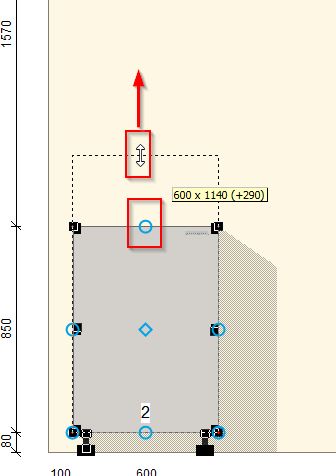
9. Release the left mouse button and the article will be placed 80 mm from the floor in the desired spot (Fig.e). If you release it in the wall, the piece of furniture will be placed 100 mm from the left of the wall. | '''9'''. Release the left mouse button and the article will be placed 80 mm from the floor in the desired spot (Fig.e). If you release it in the wall, the piece of furniture will be placed 100 mm from the left of the wall. | ||
You can also place the piece of furniture directly by clicking on the button in the shape of a hand. The piece of furniture will then automatically be placed in the desired spot (which is to say 100 mm from the left wall). | You can also place the piece of furniture directly by clicking on the button in the shape of a hand. The piece of furniture will then automatically be placed in the desired spot (which is to say 100 mm from the left wall). | ||
