Optimising lighting: Difference between revisions
No edit summary |
No edit summary |
||
| (One intermediate revision by the same user not shown) | |||
| Line 98: | Line 98: | ||
'''<big>Light source</big>''' | '''<big>Light source</big>''' | ||
This feature allows you to adjust the light source in the Realistic drawing perspective view: | |||
<br/>- intensity | <br/>- intensity | ||
<br/>- contrast | <br/>- contrast | ||
Latest revision as of 09:43, 21 August 2024
Optimising lighting
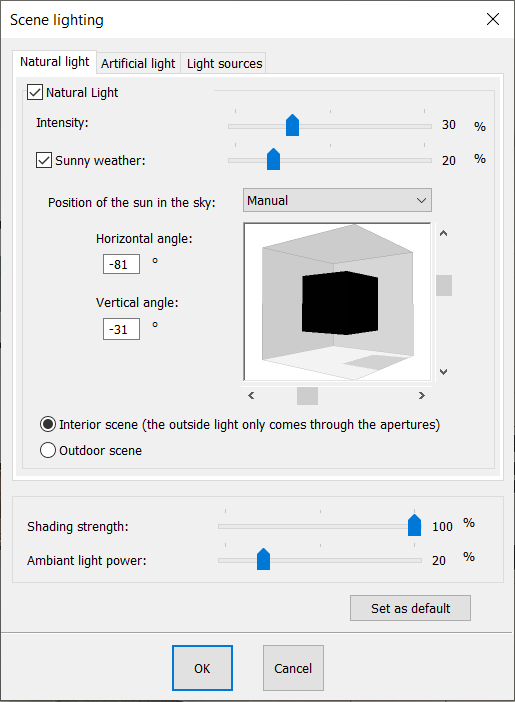
Dialog box for lighting the scene in Realtime photorealistic perspective mode In Realtime photorealistic perspective mode, the changes made in this dialog box immediately take effect in the view, enabling you to achieve your desired lighting very quickly. These settings also apply to the final photorealism. Changes linked to the lighting can be found in the Scene drop down menu under Lighting or via the icon
The lighting window is divided into 3 tabs Tab 1: Natural light Allows you to adjust natural lighting settings.
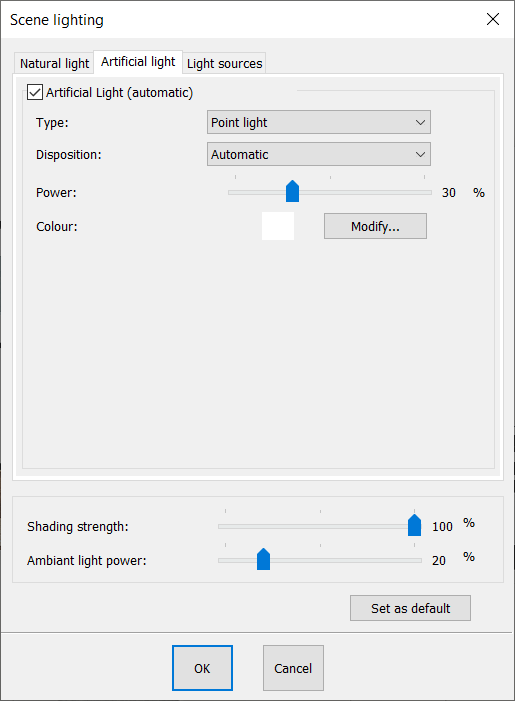
Tab 2: Artificial light Allows you to adjust the artificial light settings.
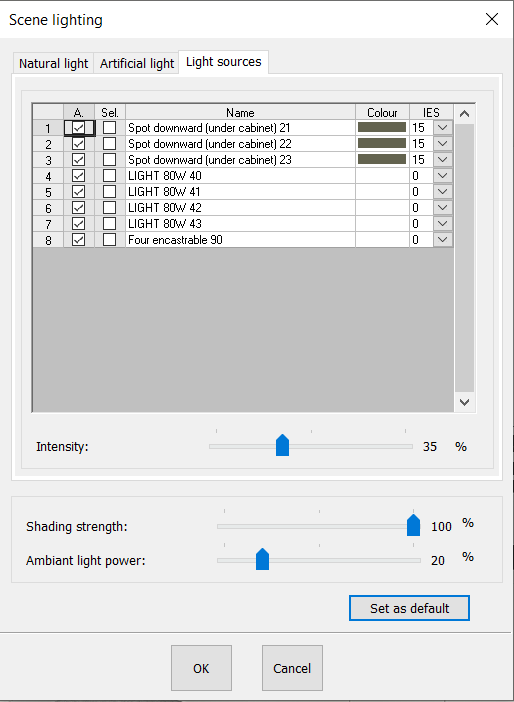
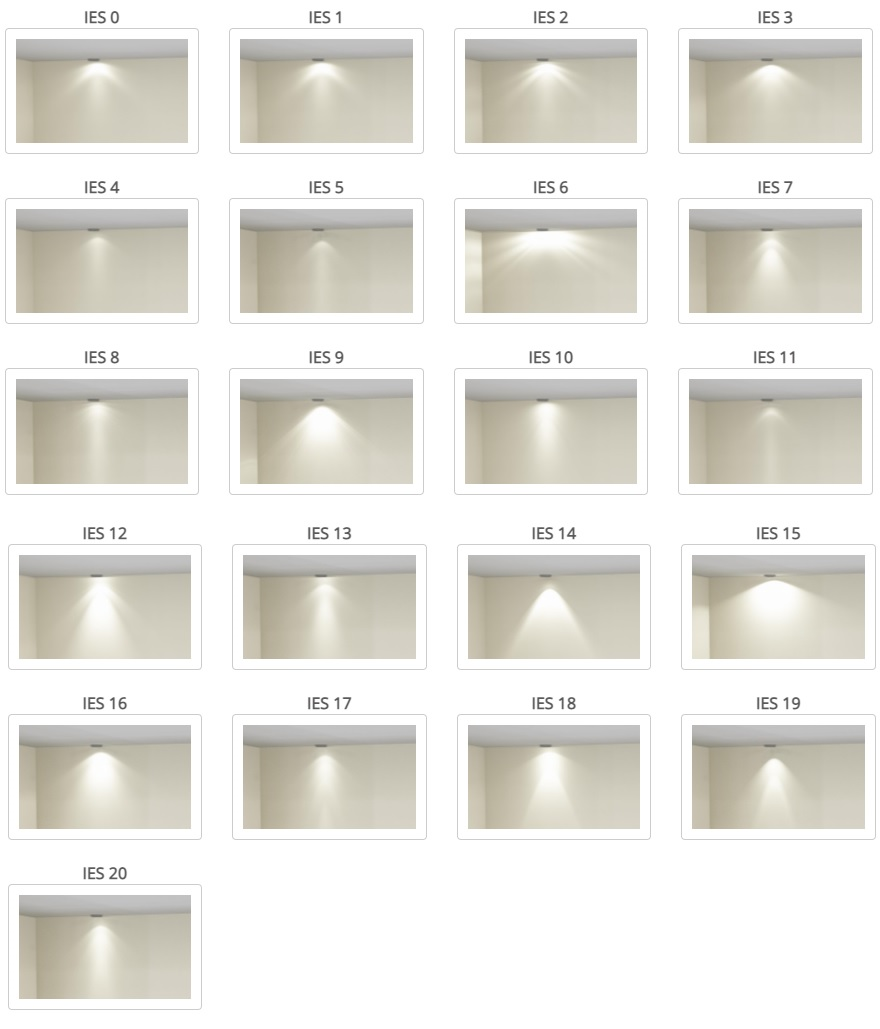
The A. Column refers to whether the light sources are lit. You can manage each element individually and light (or not) the ones that you wish to light. The box is ticked by default and means that the selected light source is lit. The Sel. column allows you to select the object. Therefore, in a scene in which you placed several light sources of the same type, you can easily identify the light source affected by the settings. The Colour column allows you to choose the colour of the diffused light. The IES column gives you the option of changing the style of light projected (the curve of the beam). You have the choice of 20 different options.
Finally, you can choose the intensity of the light sources, either for each individual light source or for the entirety of light sources in a scene thanks to the intensity slider. If you only wish to adjust one light source, select it before moving the Intensity slider. To manage the intensity of all the light sources or a particular selection of them, tick the Sel. box to select the relevant light sources.
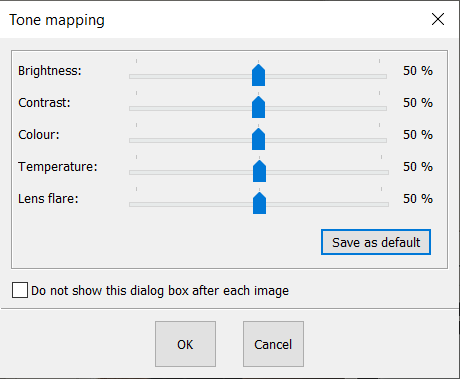
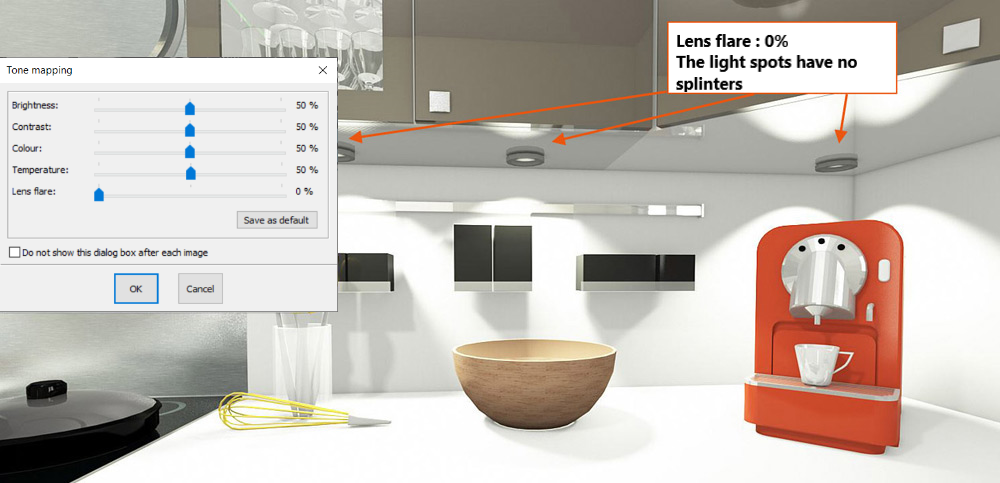
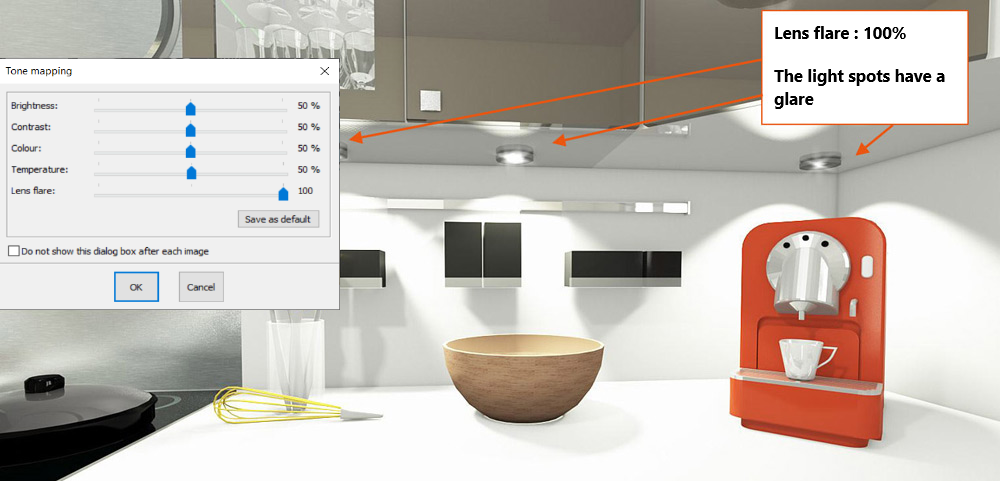
The settings window for tone is only available for the Realtime photorealistic perspective and Final photorealistic perspective views. It appears automatically at the end of the calculation of the final photorealism. However, you can access it at any time through the View drop down menu, and then Tone mapping.
This lets you play around with the rendering of the lightings.
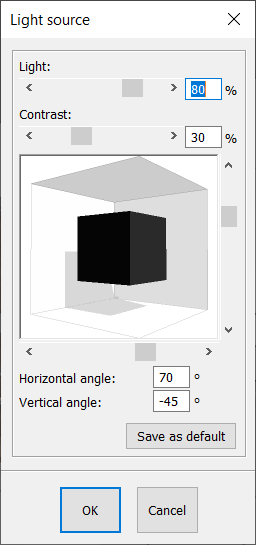
This feature allows you to adjust the light source in the Realistic drawing perspective view:
The default values are:
|
|
