Real time photorealistic perspective: Difference between revisions
No edit summary |
No edit summary |
||
| Line 11: | Line 11: | ||
<div align="center"> | <div align="center"> | ||
<p class="cadreimg"> | <p class="cadreimg img-full"> | ||
[[Image:Vuephotoreel_FR.png | [[Image:Vuephotoreel_FR.png|link=]] | ||
</p></div> | </p> | ||
<br/> | |||
</div> | |||
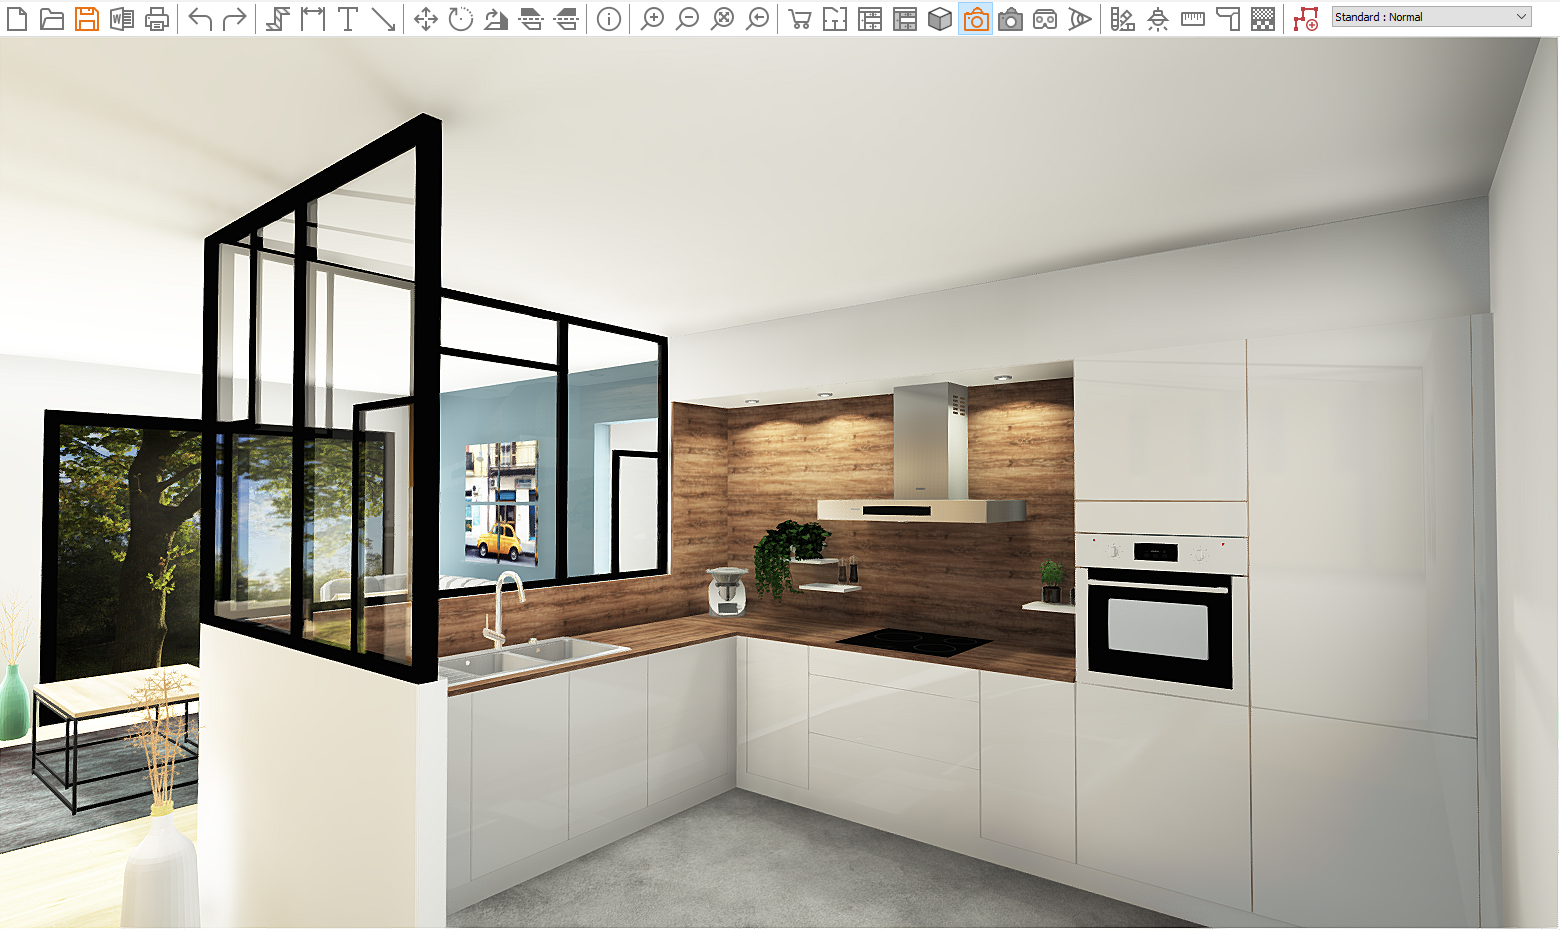
To access it, simply click on the icon [[Image:Vuephotoreel2_FR.png|link=]] or via the '''View''' drop down menu in InSitu. | To access it, simply click on the icon [[Image:Vuephotoreel2_FR.png|link=]] or via the '''View''' drop down menu in InSitu. | ||
| Line 23: | Line 25: | ||
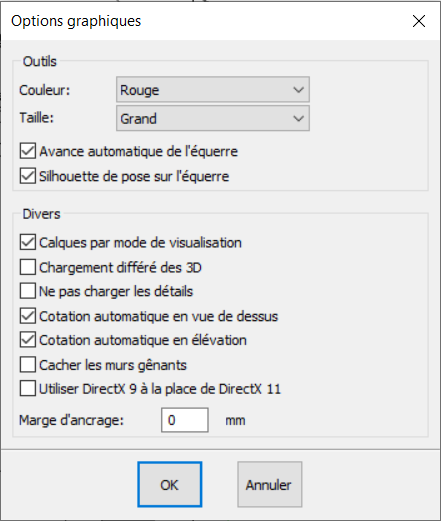
''<big>Changing the default technology by going from DirectX9 to DirectX11</big>''' | '''<big>Changing the default technology by going from DirectX9 to DirectX11</big>''' | ||
Drop down menu '''Setup''' | '''Graphic''' | '''Options''' ... | Drop down menu '''Setup''' | '''Graphic''' | '''Options''' ... | ||
Revision as of 14:44, 3 July 2023
|
To access it, simply click on the icon
Real-time photorealistic performance in the DirectX11 mode depends on your hardware set-up(graphics card).
Drop down menu Setup | Graphic | Options ...
|
|


