Placing the floor and ceiling
|
Placing a floor or a ceiling You can place a floor (or a ceiling) as soon as you start designing the layout of your room in the "New scene" dialog box, as long as you placed the walls in the same dialog box. However, when creating more complex scenes, there is a different method for placing floors and ceilings. You can place them at any time, as long as the walls have been placed. 1- Select one wall by clicking on it 2- Perform a right click on your mouse 3- Use the "shape" feature in the window that pops up. The whole shape of the construction will be displayed along the walls. 4- In the place window, choose the "@CONSTRAINTS" window. 5- Choose the "Floors" or "Ceilings" chapter 6- Choose the block you would like, then click "Place" It's important to note that you can place the floor and ceiling in whatever order you like, but you need to make the shape appear once for the floor and once for the ceiling.
It's always useful to know the floor's total surface area in m². To measure it, select your floor. The surface area is displayed in the bottom left of the InSitu window.
To find out how to personalise your floor (parquet, tiles), we recommend checking out the Decorate Course of the wiki.
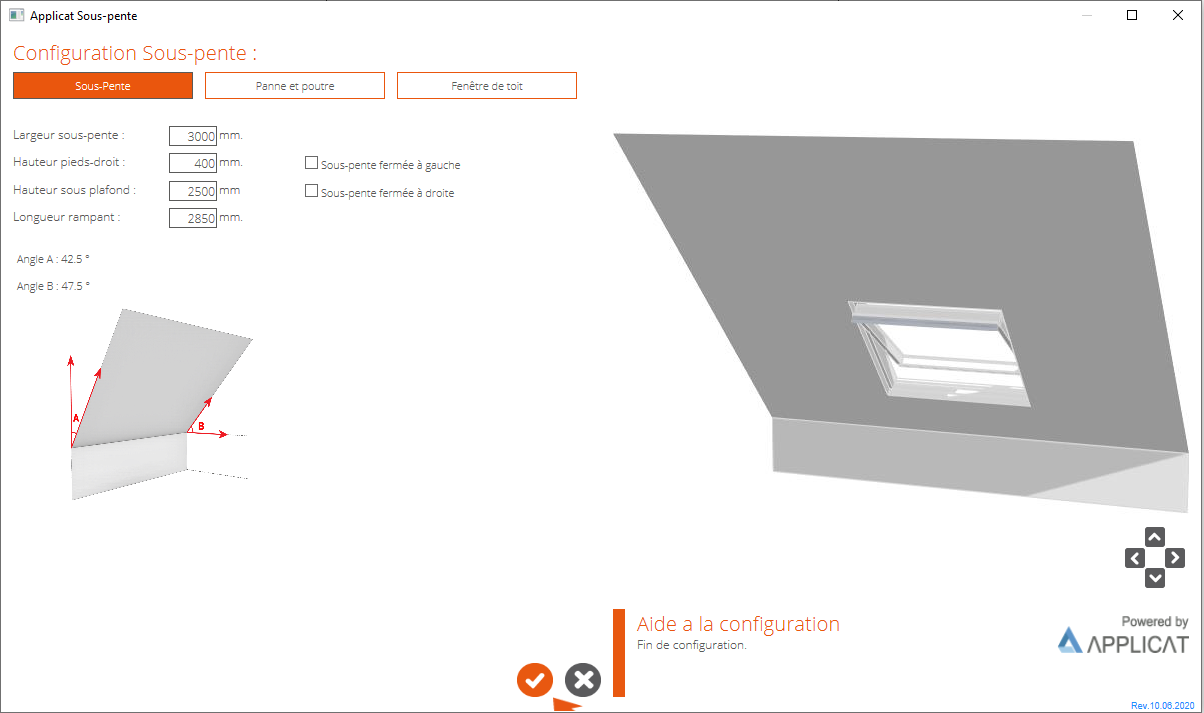
The @CONSTRAINTS catalogue contains the article (Sloping ceiling av.fen Applicat), which allows you to set up a sloping ceiling with or without a roof window. To find out how to create and personalise your sloping ceiling, we recommend checking out the Decorate Course of the wiki.

|
|
