Setting up your VAT rates: Difference between revisions
Jump to navigation
Jump to search
No edit summary |
Emmanuelle (talk | contribs) No edit summary |
||
| Line 13: | Line 13: | ||
<div align="center"> | <div align="center"> | ||
<p class="cadreimg"> | <p class="cadreimg"> | ||
[[Image: | [[Image:ConfigTVAENG1.png|link=]] | ||
</p> | </p> | ||
<br/> | <br/> | ||
| Line 29: | Line 29: | ||
<div align="center"> | <div align="center"> | ||
<p class="cadreimg"> | <p class="cadreimg"> | ||
[[Image: | [[Image:ConfigTVAENG2.png|link=]] | ||
</p> | </p> | ||
Fig.3n | Fig.3n | ||
Revision as of 15:35, 22 June 2023
|
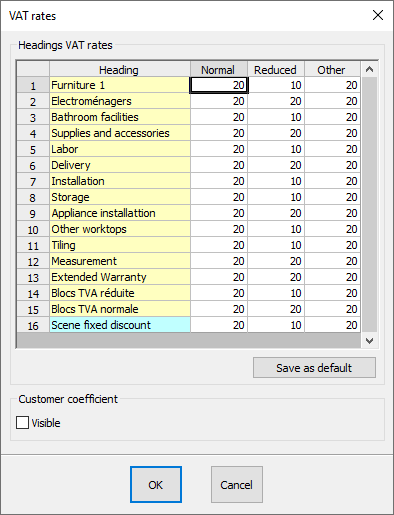
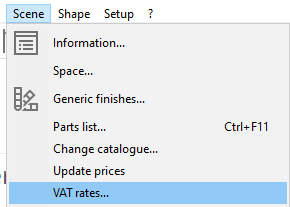
To set up your VAT rates: 1 After creating or opening a scene, click on Scene | VAT rates. 2 Fill in in the first two columns "Normal, Reduced" by specifying the VAT rates for the different sections in InSitu. 3 Click on the "By default" button to permanently save these values in InSitu.
To change the VAT rates, go to the Scene drop down menu and then click on Information and then Applicable VAT. i The new coefficients will only be applied to articles placed after the changes. To make the changes to the coefficients take effect on all the articles in the current scene, then click on Scene | Update prices.
Fig.3n
|
|


