Setting up your site(s): Difference between revisions
Jump to navigation
Jump to search
No edit summary |
Emmanuelle (talk | contribs) No edit summary |
||
| Line 7: | Line 7: | ||
<div align="center"> | <div align="center"> | ||
<p class="cadreimg"> | <p class="cadreimg"> | ||
[[Image: | [[Image:ConfigSiteENG1.png|link=]] | ||
</p></div> | </p></div> | ||
| Line 15: | Line 15: | ||
<div align="center"> | <div align="center"> | ||
<p class="cadreimg"> | <p class="cadreimg"> | ||
[[Image: | [[Image:ConfigSiteENG2.png|link=]] | ||
</p> | </p> | ||
<br/> | <br/> | ||
| Line 24: | Line 24: | ||
<div align="center"> | <div align="center"> | ||
<p class="cadreimg"> | <p class="cadreimg"> | ||
[[Image: | [[Image:ConfigSiteENG3.png|link=]] | ||
</p></div> | </p></div> | ||
| Line 36: | Line 36: | ||
<div align="center"> | <div align="center"> | ||
<p class="cadreimg"> | <p class="cadreimg"> | ||
[[Image: | [[Image:ConfigSiteENG4.png|link=]] | ||
</p></div> | </p></div> | ||
Revision as of 14:15, 22 June 2023
|
To set up what we call the Site, which refers to the coordinates of the location that you can find the InSitu software (shops, study office, show room, etc.), you must click on the Setup | Site menu.
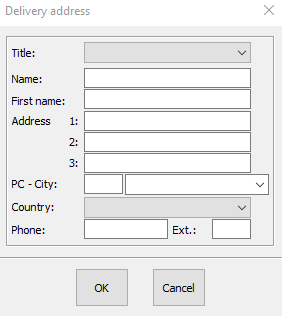
This button allows you to set a different delivery address to your place of work.
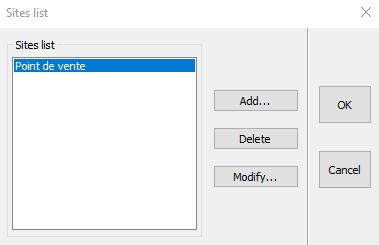
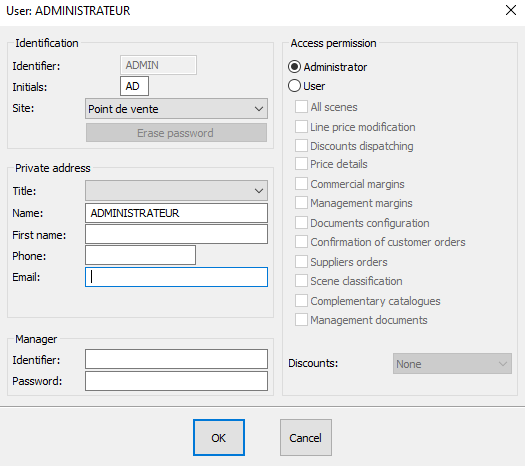
You can create different sites (delivery, work) with the add button. Once the various sites have been created, you can affiliate your users to a site:
|
|


